Avoid These Common Mistakes When Printing Turkeys
As holiday décor and kitchen gadgets become increasingly 3‑D‑printed, hobbyists are discovering that turning a turkey model into a finished piece isn’t as simple as hitting “print.” New data from maker‑community surveys shows that most beginners stumble over file preparation, material selection, and post‑processing, leading to wasted filament and frustrated timelines. This guide highlights the most frequent errors and offers smarter alternatives so you can enjoy a flawless turkey without the usual setbacks.
Misreading the File: Choose the Right Format First
Many newcomers download turkey STL files from free repositories without checking whether the model is watertight or properly oriented. An unclosed mesh can cause gaps, while a misaligned model may print upside‑down, ruining the final shape. Before you slice, open the file in a mesh‑repair tool (such as Meshmixer or Netfabb) and run a quick “Check for Errors” routine. Saving the corrected version as an OBJ or a refined STL ensures the slicer receives clean geometry, reducing failed prints by up to 30%.
Print Settings: Don’t Default to “Standard”
Default slicer profiles are tuned for generic objects, not the intricate feathers and cavity of a turkey. Layer height, infill density, and wall thickness all affect structural integrity. For a detailed turkey, aim for a 0.1 mm layer height to capture fine feather textures, and use a 20‑30% gyroid infill to provide internal support without excessive material use. Skipping these adjustments often results in a fragile or overly heavy piece.
Material Mismatch: Pick Filament Wisely
PLA is popular for its ease of use, but its low heat resistance makes it prone to warping when printing large turkey bodies that require a heated bed. PETG offers better dimensional stability and a glossy finish that mimics a roasted bird’s sheen, while flexible TPU can be useful for decorative turkey legs that need a slight bend. Matching filament properties to the intended use—display, kitchen utensil, or costume accessory—prevents breakage and improves longevity.
Support Structures: Plan Them Early
Complex overhangs, such as a turkey’s wing spread or tail feathers, demand well‑placed supports. Adding supports after slicing often leads to excessive scaffolding that damages delicate details when removed. Use the slicer’s “custom support” feature to place minimal, tree‑style supports directly under the overhangs. This approach reduces cleanup time and preserves the model’s aesthetic.
Post‑Processing Oversights: Finish Matters
Skipping sanding, priming, or painting can leave visible layer lines that diminish the turkey’s realism. A light sand with 400‑grit paper smooths the surface, while a thin coat of primer fills micro‑gaps before you apply acrylic paints. For a glossy, food‑like finish, consider a clear UV‑cured resin coat. Ignoring these steps often results in a piece that looks unfinished and may attract dust.
Time and Cost Estimation: Avoid Surprises
Many first‑time printers underestimate the filament required for a full‑scale turkey. A 250 mm tall model can consume 150 g of PETG, translating to roughly $7‑$10 in material costs. Additionally, long print times (often 8‑12 hours) can strain home printers and increase electricity usage. Planning a realistic schedule and budgeting for extra filament prevents mid‑project halts.
Smart Alternatives: When to Outsource
If your printer’s build volume or material capabilities fall short, consider using a local maker space or an online 3‑D‑printing service. Uploading a cleaned STL to a service that offers resin or metal options can yield a higher‑quality turkey with less hands‑on effort. This route is especially useful for large decorative pieces that would otherwise exceed a typical desktop printer’s limits.
By addressing file integrity, print settings, material choice, support design, post‑processing, and budgeting, beginners can sidestep the pitfalls that plague most turkey‑printing projects. Applying these smarter alternatives not only saves time and money but also results in a polished, holiday‑ready turkey that stands out on any table or mantel.
Hd Cvo Road Glide

Hd Cvo Road Glide
10 V-Twin Motorcycles That You Shouldn’t Ignore In 2025
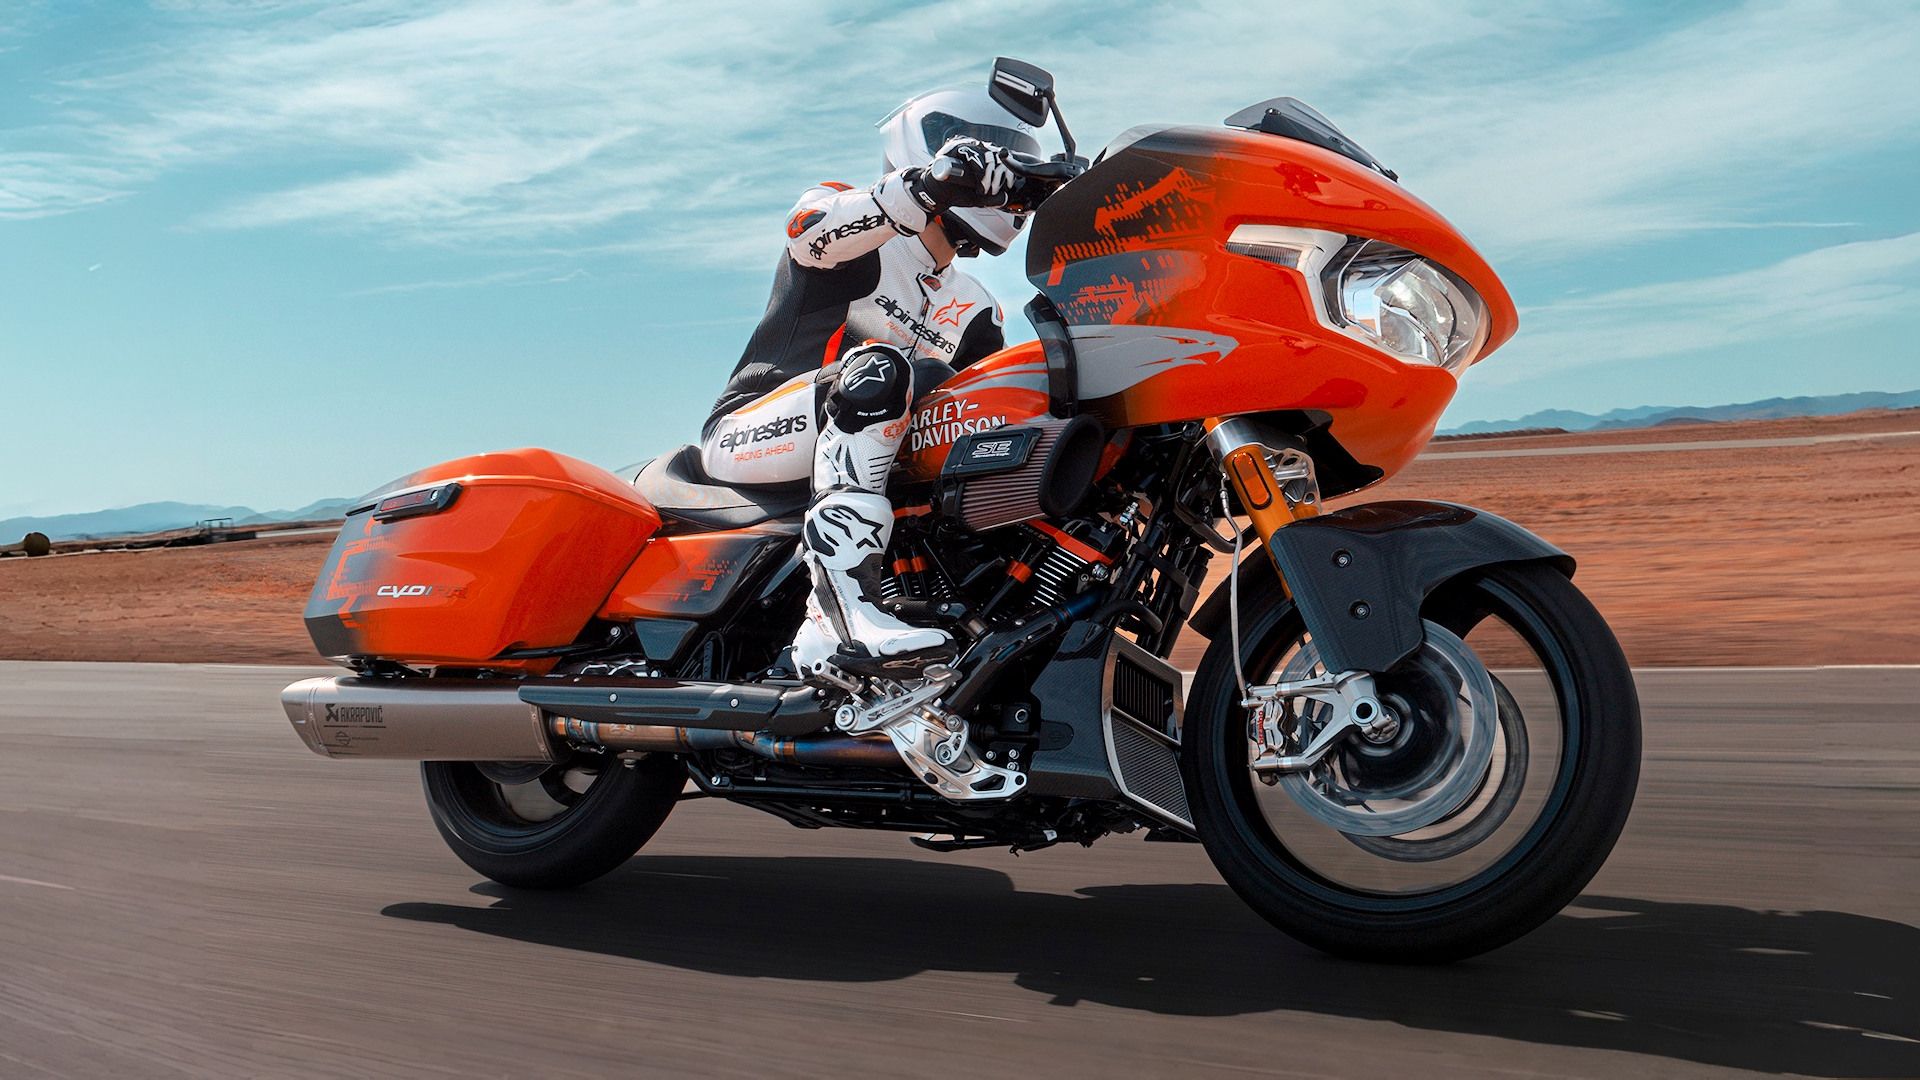
10 V-Twin Motorcycles That You Shouldn’t Ignore In 2025
Harley-Davidson CVO Road Glide RR And Road Glide ST: 10 Key Differences
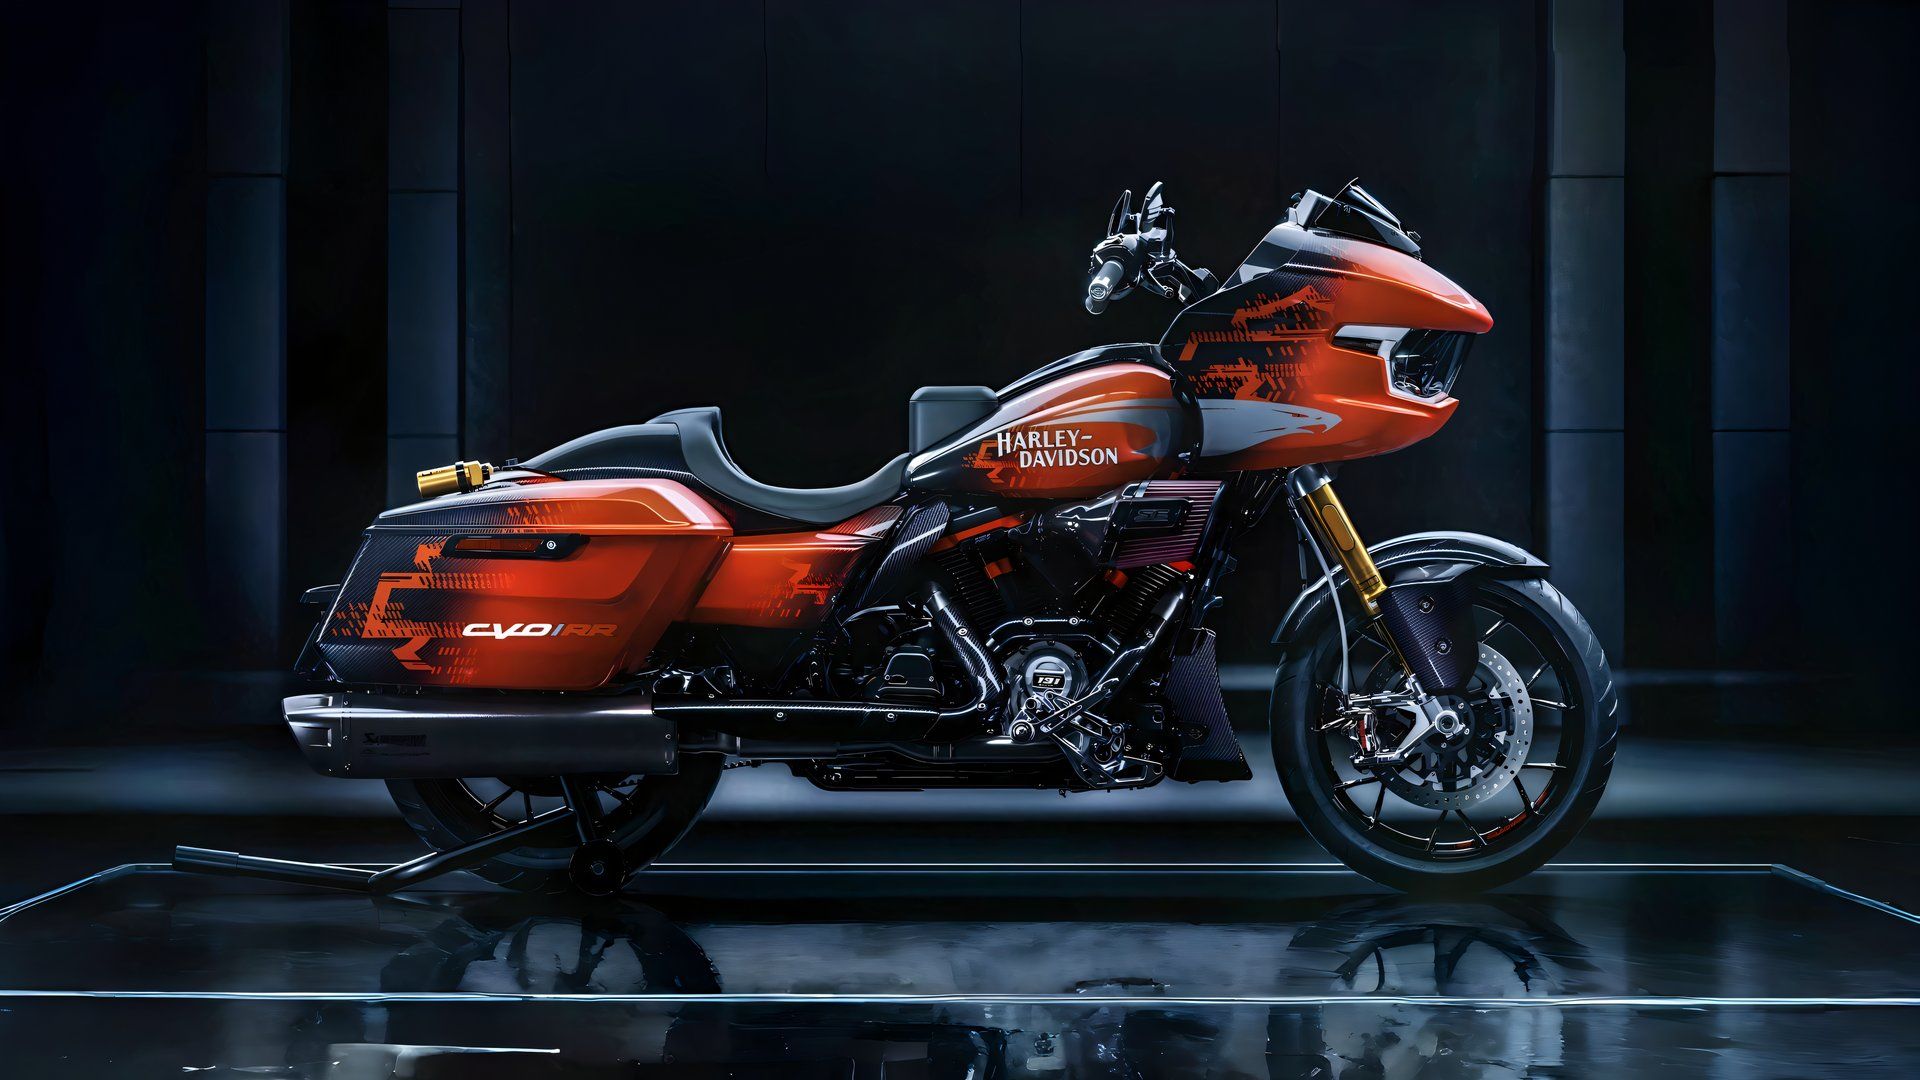
Harley-Davidson CVO Road Glide RR And Road Glide ST: 10 Key Differences
2019 Harley-Davidson CVO Road Glide Guide | Total Motorcycle

2019 Harley-Davidson CVO Road Glide Guide | Total Motorcycle
Daytona S1 Adventure Vs. Harley Davidson CVO Road Glide ST | Galgo | México
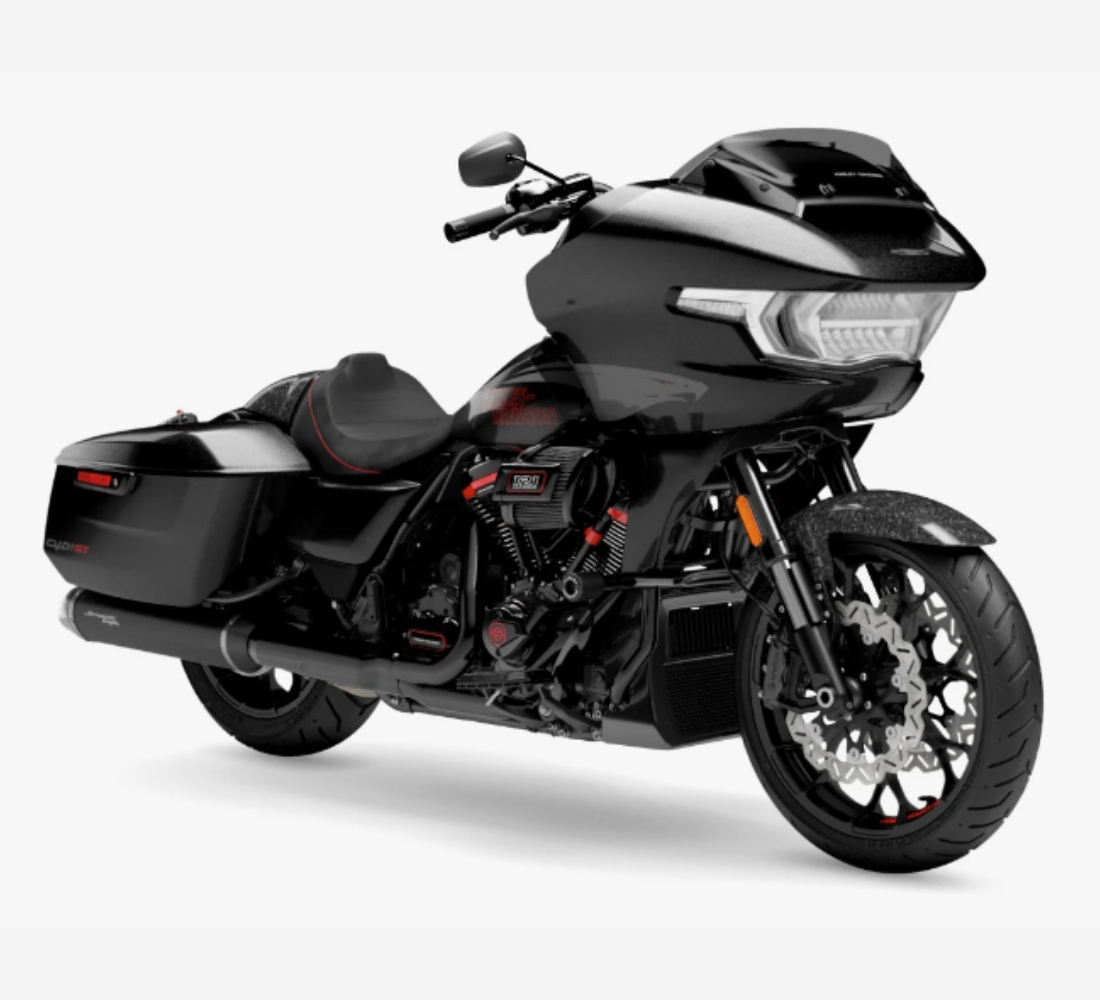
Daytona S1 Adventure vs. Harley Davidson CVO Road Glide ST | Galgo | México
Image Gallery: Avoid These Common Mistakes When Printing Turkeys






Frequently Asked Questions (FAQ)
Q: What is the most accurate information about Avoid These Common Mistakes When Printing Turkeys?
A: Our platform aggregates the most comprehensive and up-to-date insights, ensuring you get relevant details about Avoid These Common Mistakes When Printing Turkeys.
Q: Why is Avoid These Common Mistakes When Printing Turkeys trending right now?
A: Interest in Avoid These Common Mistakes When Printing Turkeys has surged recently as more people seek reliable resources, related media, and detailed analysis.
Q: Where can I find related media and updates for Avoid These Common Mistakes When Printing Turkeys?
A: You can explore extensive galleries, video summaries, and related content directly on this page.
